Quiz Night – A DRAMA
Our Drama Group have been busy providing entertainment to lighten your spirits!
Please open the link below to enjoy their latest video production Quiz Night.
Enjoy!
Your Committee
Our Drama Group have been busy providing entertainment to lighten your spirits!
Please open the link below to enjoy their latest video production Quiz Night.
Enjoy!
Your Committee


Whether I send out one or a hundred lessons each week the prep is the same so it was suggested that I contact you to offer the lessons to anyone in U3A who might fancy an arty dabble. It is my intention to continue throughout the summer, and I have attached below the current lesson for week 7 (lessons go out on Monday evenings), in order that you can have a look and see what you think with regard to throwing it open.
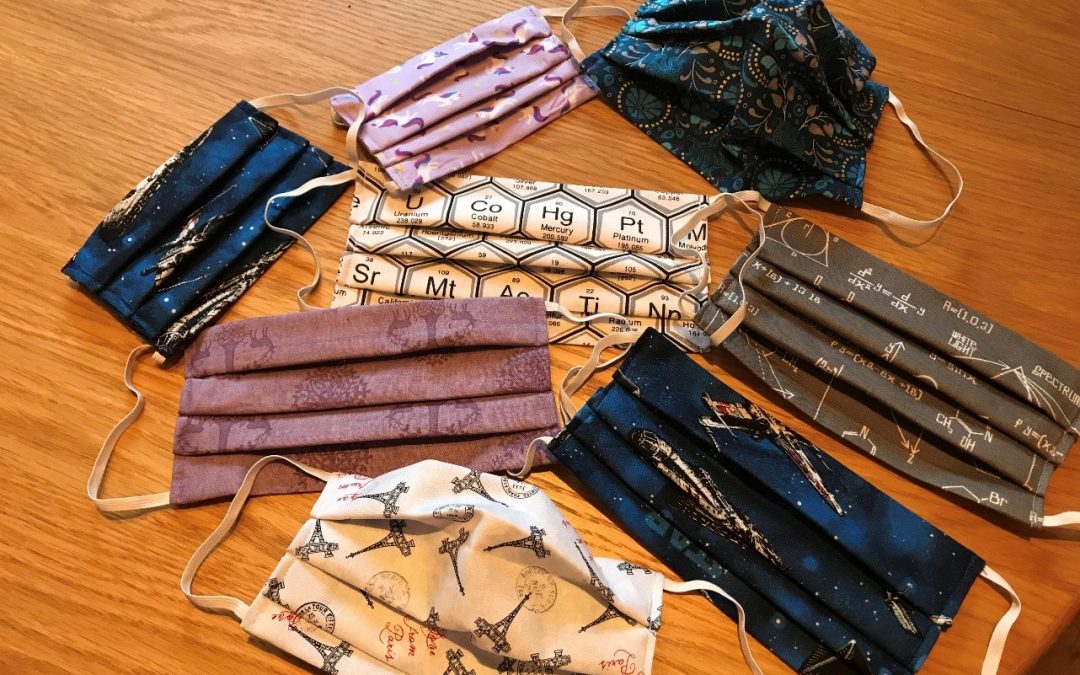
I am aware that many people may only have a pencil, paper and biro; this is taken into account when planning the lessons.
If you feel it is something you could use, I am happy for my email address to be used as a direct contact: s.moore606@btinternet.com
Best wishes
Sue Moore
Welcome to WEEK 7 LESSON 7.
Materials
Project 1
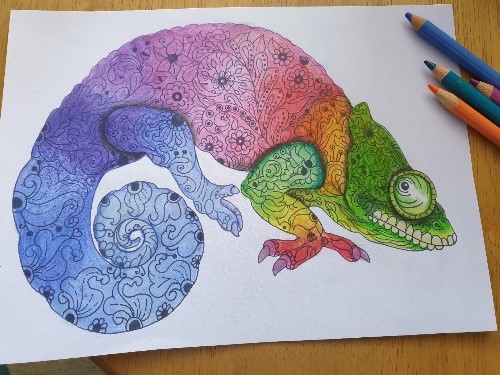
The Confused Chameleon
Chameleons are believed to have been on our planet in one form or another for over 100 million years. Some can change colour as a form of signalling. Changing the space between special crystals beneath the skin, allow for changes in the wavelength of light reflected off these crystals which change in skin colour.
As of June 2015, 202 species of chameleons have been identified on our planet….until today! It gives me great pleasure therefore, to introduce to you a new species discovered in my deepest darkest sketch book commonly known as The Confused Chameleon – confused due to the fact that he cannot decide on the colour he ought to be!
Dark dull colours tend to indicate submission in Chameleons, and bright bold colours are a sign of facing up to the enemy. I thought we could “cock a snook” to the coronavirus by giving our Chameleon a coat of flowing patterns and/or bright, bold colours.
")